Setting up a 3kW solar system is the most popular choice for Indian homes and small shops today. It is the “sweet spot” because it usually covers the electricity needs of a 2-3 BHK house or a small office. But as any expert will tell you, a solar plant is only as good as its installation.
If you are a technician, a DIY enthusiast, or a business owner looking at a commercial ongrid setup, you need a roadmap. You cannot just “plug and play.” You need a checklist that ensures the system works for 25 years without a single spark or failure.
In this guide, we will walk through the professional checklist for a 3kW (3kVA) On-Grid Solar Kit. We will go from the moment the truck arrives at your gate to the moment your meter starts running backwards.
Step 1: The Unboxing and Quality Check
The first 30 minutes are the most important. Before you climb the roof, you must check your “Bill of Materials.”
- Solar Panels: For a 3kW system, you will usually have 6 panels of 540Wp or 5 panels of 600Wp. Check the back of every panel. The serial numbers must match your warranty card. Look for any “micro-cracks” on the glass. Even a tiny crack can reduce power by 50% over time.
- The Inverter: Ensure you have high-quality ongrid solar inverters. Check the box for the Wi-Fi dongle and the wall-mounting bracket.
- The Structure: Check the aluminum or galvanized iron (GI) channels. They should be heavy and rust-free.
- The Solar BOS: This is your “Balance of System.” It includes your DC cables (usually 4sqmm), MC4 connectors, and conduits. If the cables are thin or look “local,” stop the installation. Good solar BOS components are the difference between a safe system and a fire hazard.
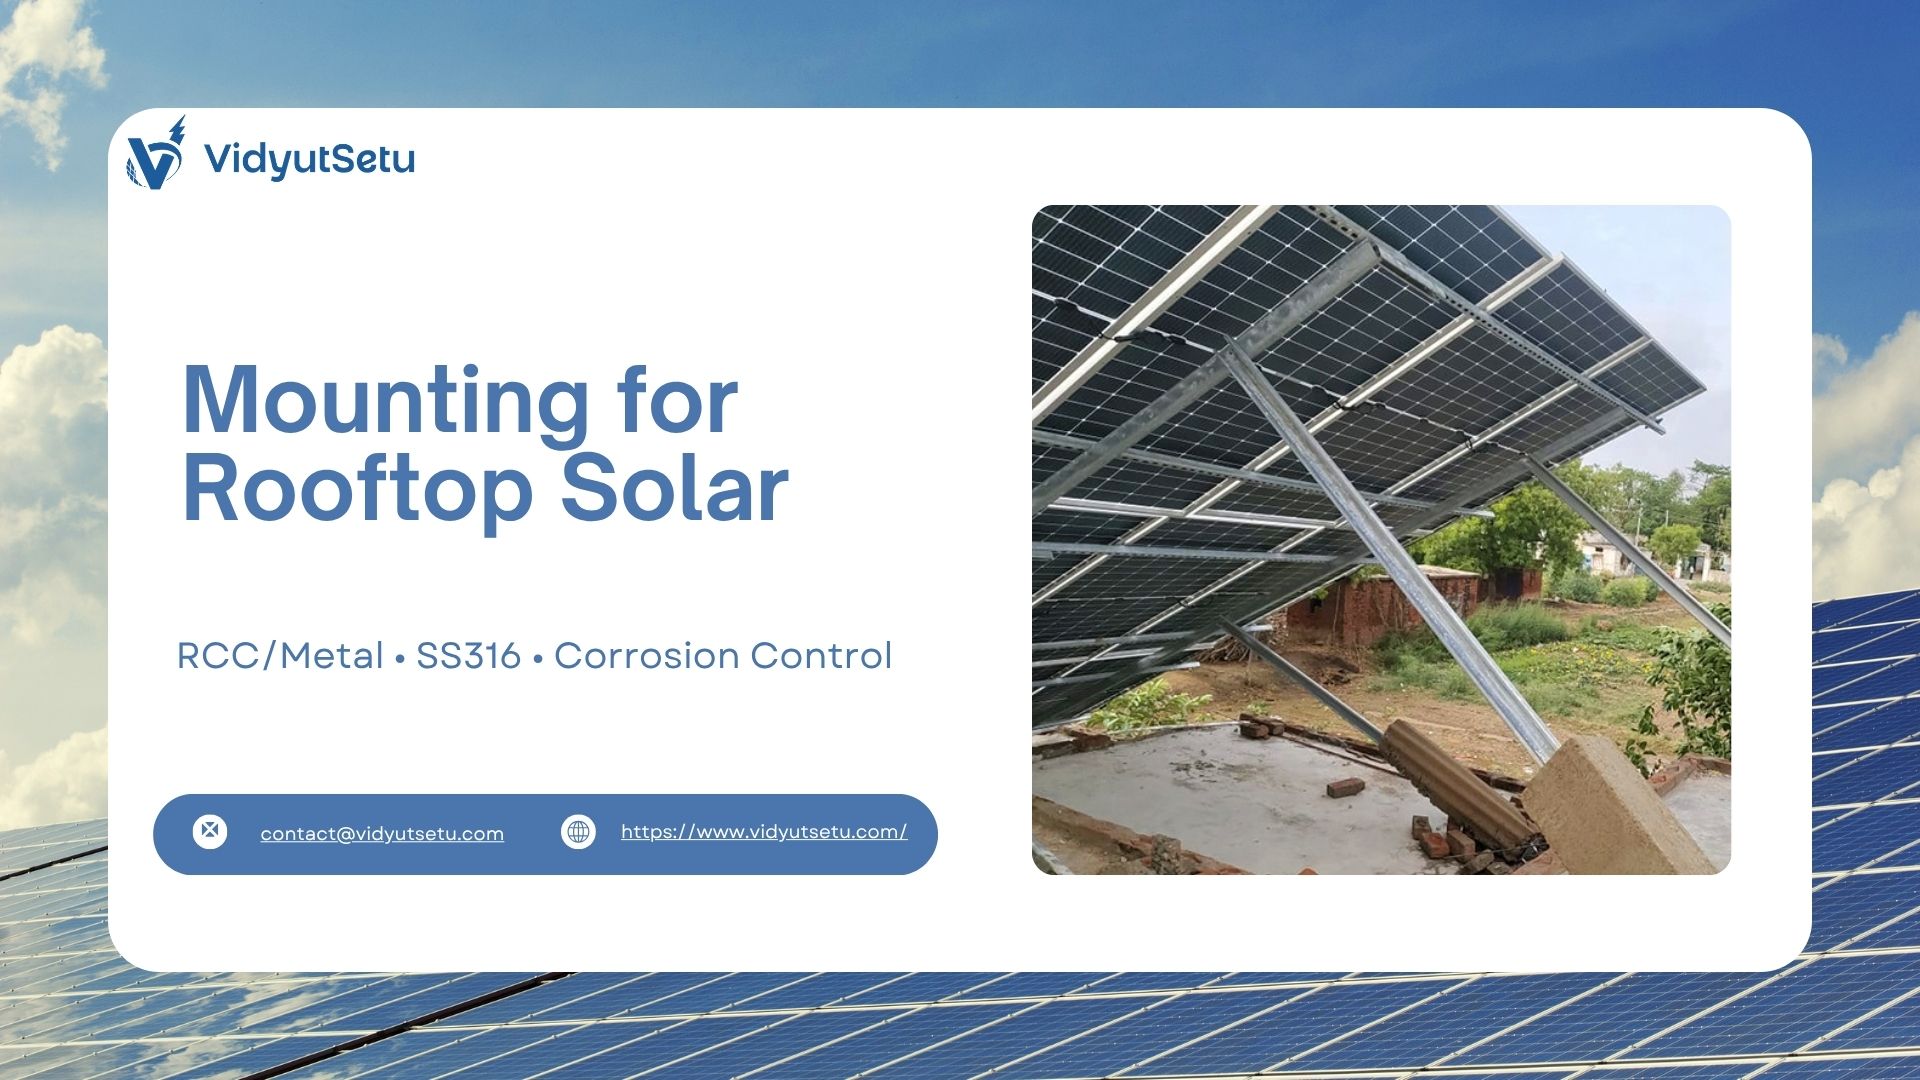
Step 2: The Rooftop Foundation (The Structure)
India has diverse weather. From the heat of Rajasthan to the cyclones of Odisha, your structure must be a “fixed mountain.”
- South Facing Direction: In India, panels must face South. Use a compass. Even a 10-degree mistake can lose you 5-10% of your daily power.
- Tilt Angle: Depending on your city, the tilt should be between 15 to 25 degrees. This ensures the sun hits the panels directly and rainwater flows off easily.
- Civil Work: If you are using “legs” on a concrete roof, ensure the “Pillar” or “Base” is waterproofed. You don’t want a solar system that causes a roof leak in the next monsoon.
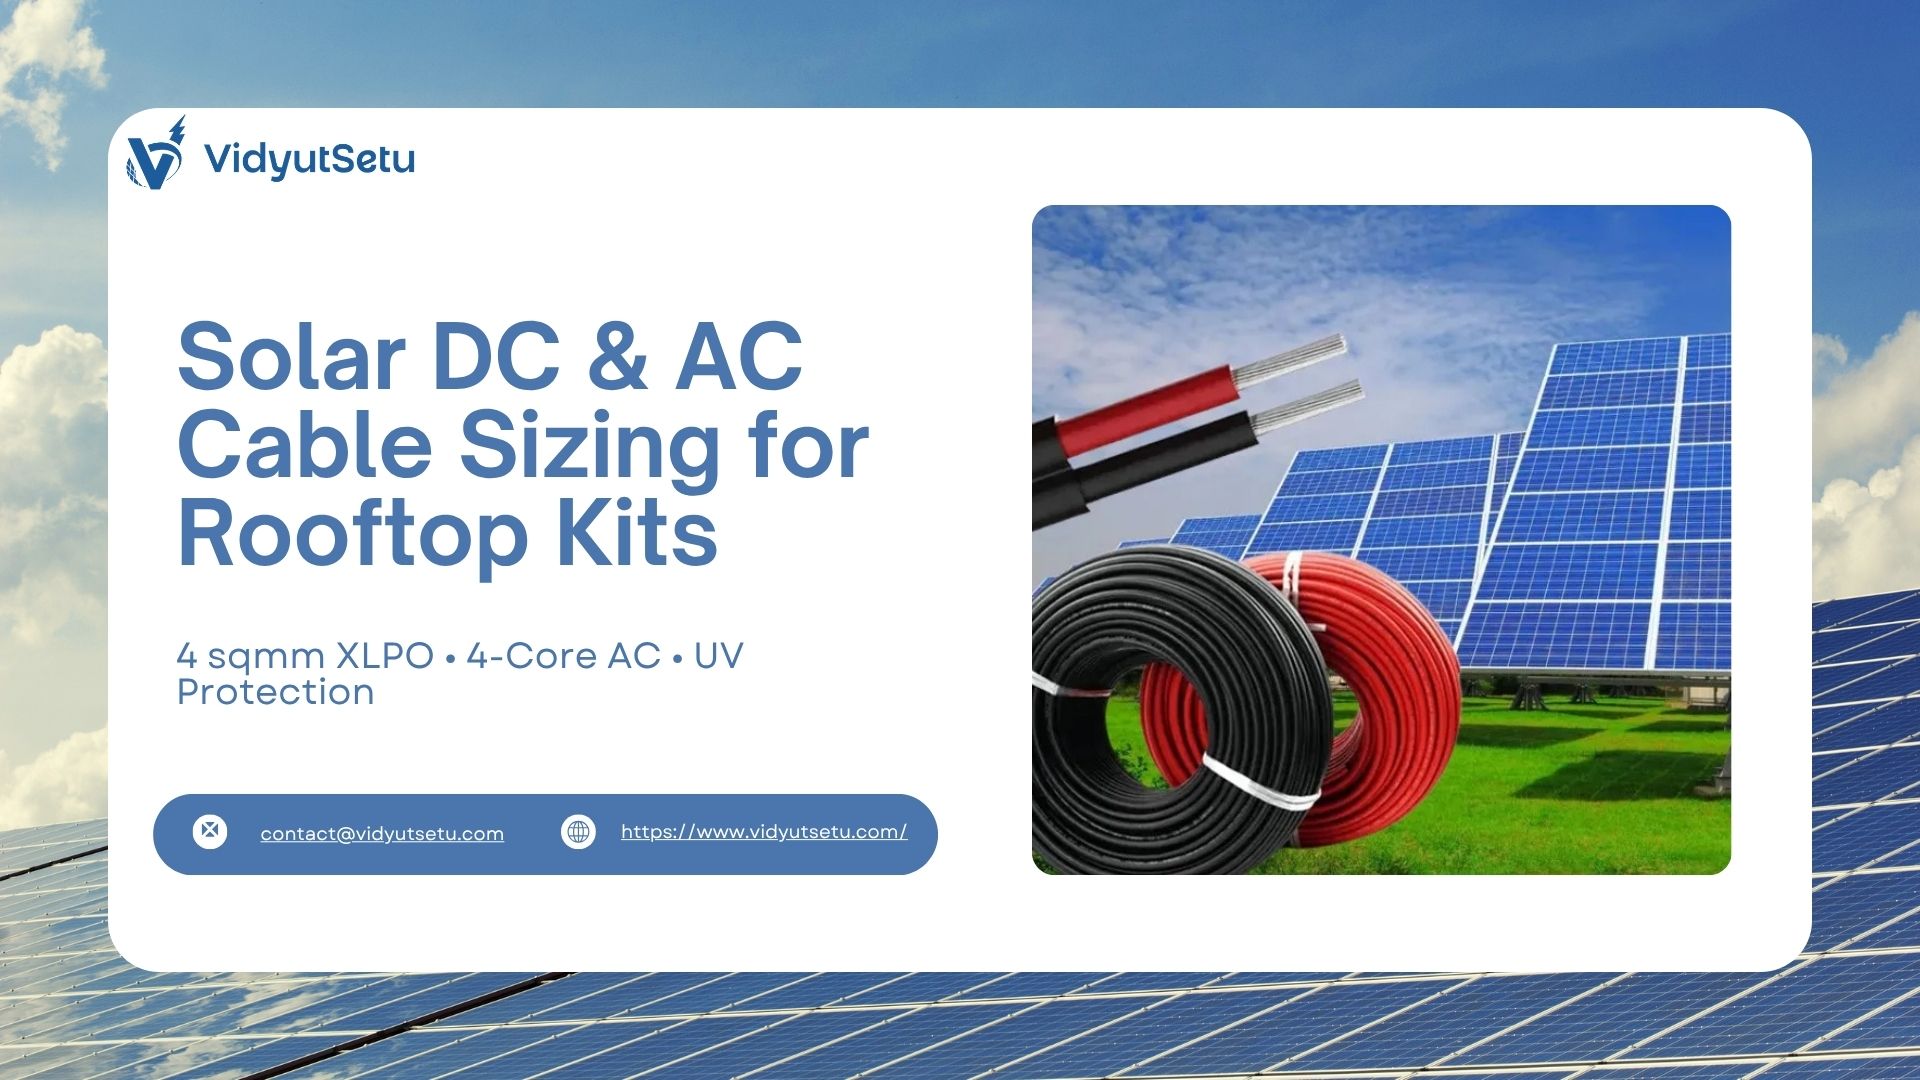
Step 3: DC Wiring and Safety
This is where the “Science” happens. The DC power coming from panels is high-voltage and can be dangerous if handled poorly.
- MC4 Crimping: Never “twist” wires together. Use a professional crimping tool for MC4 connectors. A loose connection here will melt the plastic in six months.
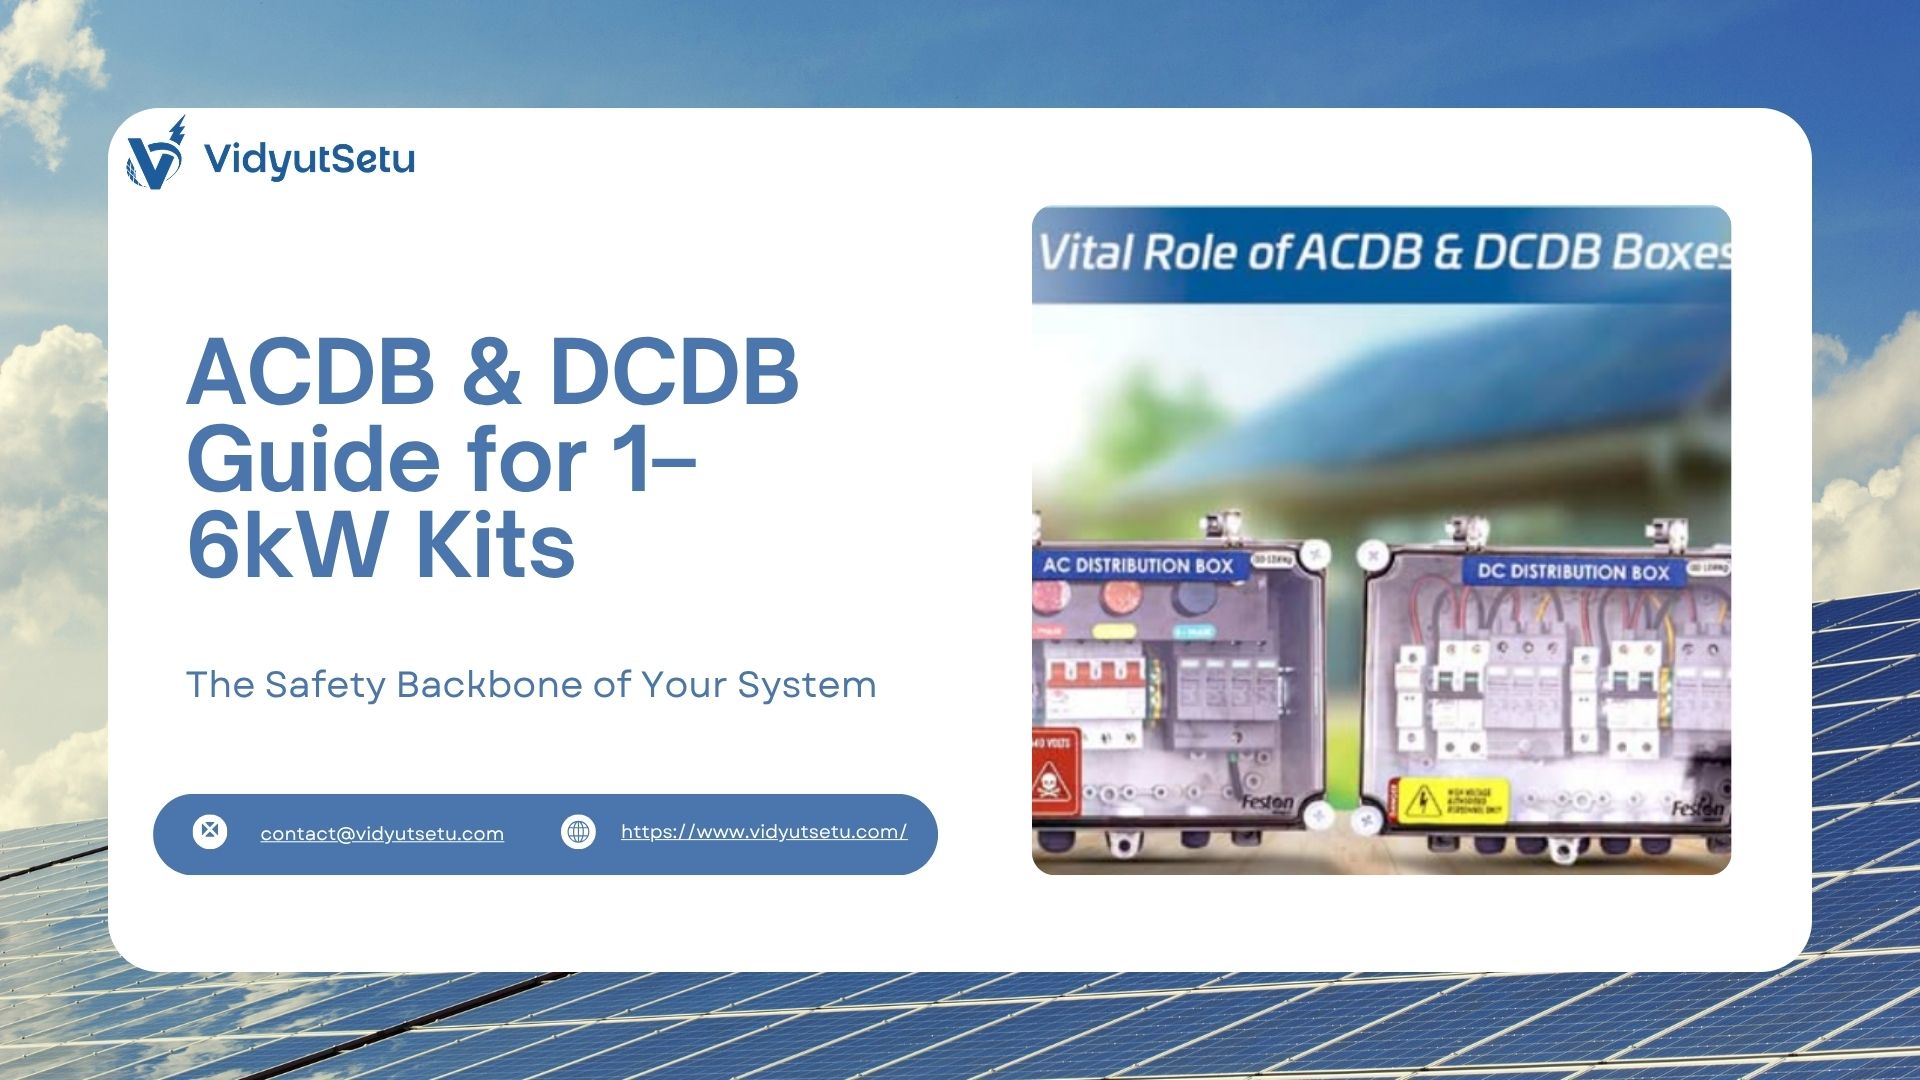
- The DCDB Box: Your kit must have a DC Distribution Box. It should have a fuse for the positive wire and an SPD (Surge Protection Device) to protect against lightning.
- Conduit Pipe: All wires must be inside a pipe. Never leave wires hanging or touching the hot roof surface. UV rays will destroy the wire’s skin within a year.
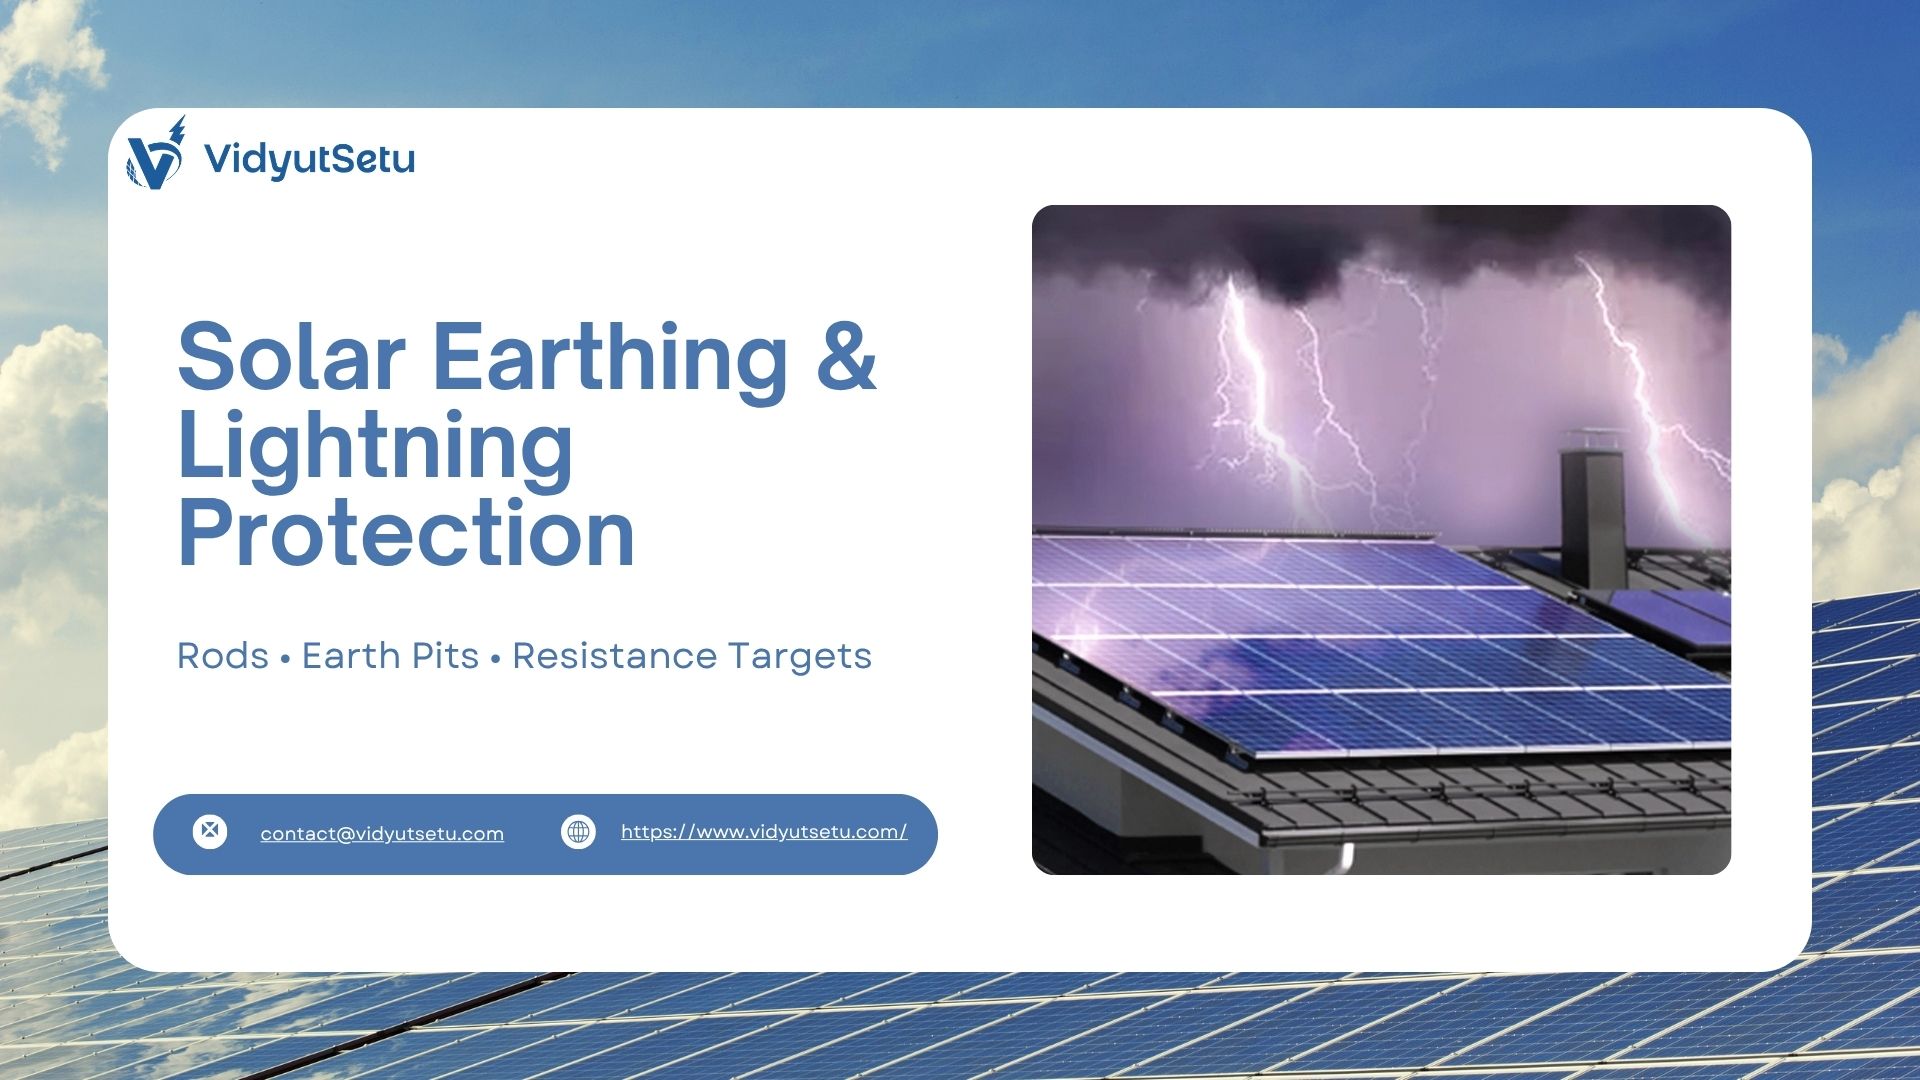
Step 4: The Earth and Lightning Protection
In India, we get heavy lightning. Your 3kW system is a big metal structure on the highest point of your building. It is a target.
- Solar Earthing Kit: A professional solar Earthing kit is non-negotiable. You need separate earthing for:
- The Lightning Arrestor (LA)
- The Structure and Panels
- The Inverter and ACDB
- Chemical Earthing: Gone are the days of just salt and charcoal. Use chemical earthing electrodes. They keep the “resistance” low for years without needing to add water every week.
- The LA Pole: The Lightning Arrestor must be the highest point on your roof. It should be at least 1-2 meters above the top edge of your solar panels.
Step 5: Mounting the Inverter and AC Connections
Now we move to the “Brain” of the system.
- Location: Mount your ongrid solar inverters in a shaded area. Even though they are waterproof (IP65), direct sun makes them run hot, which slows down power production.
- The ACDB Box: This box sits between your inverter and your home’s main switchboard. It should have an MCB (to turn power off) and another SPD for AC protection.
- Net Metering Readiness: Ensure the wiring is ready for the “Net Meter.” This is the special meter provided by the electricity board (like MSEDCL or Tata Power) that records how much power you give back to the grid.
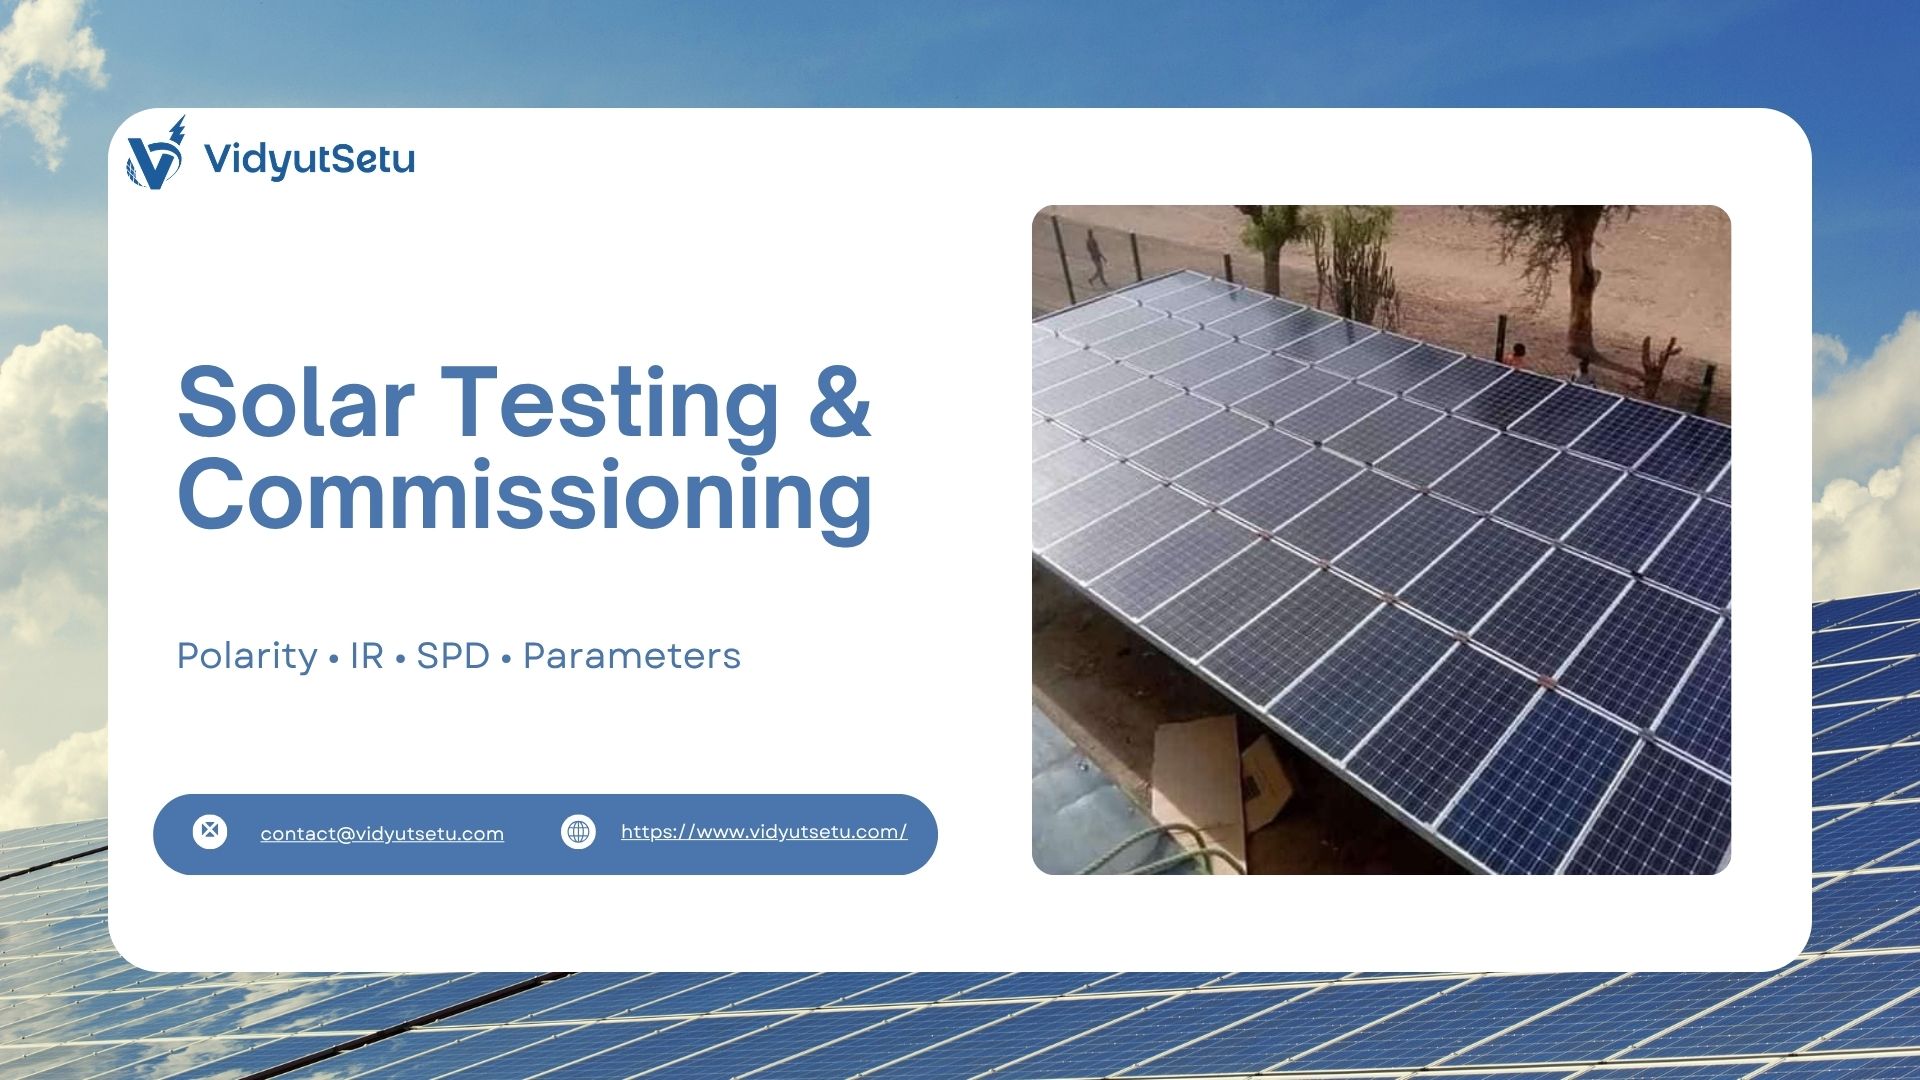
Step 6: Commissioning and Testing
Before you “flip the switch,” do these final checks:
- Voc Test: Use a multimeter to check the voltage coming from the panels. For a 3kW string, it should be within the range mentioned on the inverter’s manual.
- Earth Resistance: Ensure the earthing resistance is below 5 Ohms.
- The “Turn On” Sequence: * Turn on the DCDB switch first.
- Wait 60 seconds.
- Turn on the ACDB switch.
- Watch the inverter screen. It will count down (usually 60 seconds) before it starts “Grid Syncing.”
The Hidden Costs of “Cheap” Kits
Many people buy the cheapest 3kW kit they find online. But remember, a solar plant is a 25-year machine. If you save ₹10,000 today by using a low-quality solar Earthing kit or cheap solar BOS wires, you will spend ₹50,000 later on repairs.
Always look for “Tier-1” brands. Whether it is a small home setup or a larger commercial ongrid project, quality always pays for itself through higher generation and zero breakdown time.
Why Choose VidyutSetu for Your 3kW Journey?
Installing solar sounds simple on paper, but doing it perfectly requires a professional eye. That is exactly what we provide at VidyutSetu.
Based in Navi Mumbai, we have mastered the art of the 3kW installation. We don’t just sell you a kit; we provide a “Power Solution.”
What makes VidyutSetu different?
- Precision Engineering: We follow a 50-point checklist for every installation. From the exact torque of the bolts to the resistance of the earthing, we measure everything.
- Premium Components: When you work with us, you get the best. We source top-rated ongrid solar inverters and high-efficiency panels that are tested for Indian weather conditions.
- No “Hidden” Shortcuts: We use only premium solar BOS materials. Our conduits are heavy-duty, our cables are top-tier, and our structures are designed to withstand 150 km/h winds.
- End-to-End Net Metering: The most frustrating part of solar is the paperwork. VidyutSetu handles the entire application process with your local electricity board. We ensure your Net Meter is installed quickly so you can start saving from Day 1.
- Lifetime Support: Our relationship doesn’t end when the lights come on. We provide regular maintenance, remote monitoring through our app, and 24-hour service support.
Whether you are a homeowner looking to wipe out your electricity bill or a business owner exploring a commercial ongrid plant, we are here to help.
Are you ready to switch to clean, free energy? Let the experts at VidyutSetu handle your 3kW installation. Contact us today for a free site visit and a detailed quote!